| Home | HTML | Data Types | DOM | JavaScript | JS Debugging |
Following along
Remember to “git pull” on teacher repository to update to lates.
- Run this notebook in VSCode
- Activate Help-Toogel Developer Tools to add console outputs to runtime experience
Referencing HTML elements using javascript
- To get an HTML element, use
document.getElementById("idTag") - You will use the ID that you set in your HTML
- if you
console.logthe resulting variable you will get some information about the element
%%html
<!-- the ID must be specified within the element -->
<h1 id="domTitleID">My Title</h1>

<!-- javascript goes here -->
<script>
var titleElement = document.getElementById("domTitleID")
<!-- outputs h1 tag -->
console.log("Example #1, show element in DOM")
console.log(titleElement)
</script>
Getting the data within the HTML element
- The variable titleElement stores the “object”
- Basically think of this as the group of data enclosed in HTML tag
- To access a certain type of data from an “object” we use “.” notation
- .innerHTML gets data within center of tag
%%html
<!-- the ID must be specified within the element -->
<h1 id="domTitleIDget">My Title</h1>

<!-- javascript goes here -->
<script>
var titleElement = document.getElementById("domTitleIDget")
<!-- outputs h1 innerHTML from h1 tag -->
console.log("Example #2, show innerHTML")
console.log(titleElement.innerHTML)
</script>
Setting the data within the HTML Element
- The innerHTML data in this “object” can be set like a variable
- Change the value of the innerHTML using the “=” (assignment) operator
%%html
<!-- the ID must be specified on the element -->
<h1 id="domTitleIDset">My Title</h1>

<!-- javascript goes here -->
<script>
var titleElement = document.getElementById("domTitleIDset")
titleElement.innerHTML = "Set and Update My Title"
<!-- outputs h1 innerHTML after h1 tag has been updated -->
console.log("Example #3, update innerHTML")
console.log(titleElement.innerHTML)
</script>
Creating elements
- Create a new element with the document.createElement function -> takes in the type of element
- Set properties in the element just like the “h1” example
%%html
<!-- the ID must be specified on the element -->
<div id="divContainerID">
    <h1 id="h1ElementID">My Title</h1>
</div>

<!-- javascript goes here -->
<script>
   // creates a new element
   var pElement = document.createElement("p")
   pElement.innerHTML = "Starting a paragraph of text."

   // outputs p tag after it has been created
   console.log("Example #4, create a p tag within JS")
   console.log(pElement)
</script>
Issue! How to Create element that appears in HTML?
- Here is a visualization of what is happening => the “p” is not placed inside the HRML page!

Solution
- Correct by placeing the element somewhere in the page
- For example, we could add the element within the div
- For this, use the appendChild function on the div object (the parameter would be the p element we created)
- Remember, use the getELementById to get the object for something in the html (the div!)
- Updated Diagram

%%html
<!-- the ID must be specified on the element -->
<div id="divContainerIDset">
    <h1 id="h1ElementIDset">My Title</h1>
</div>

<!-- javascript goes here -->
<script>
   // creates a new element
   var pElement = document.createElement("p")
   pElement.innerHTML = "Starting a paragraph of text."

   // outputs p tag after it has been created
   console.log("Example #5, add p tag to HTML")
   console.log(pElement)

   // place the p element inside the HTML page
   var div = document.getElementById("divContainerIDset")
   div.appendChild(pElement)
</script>
Functions in JavaScript, using with DOM
- Functions allow you to “do something”
- ex. “eat food” in a Snake Game
- Functions were used in previous examples
- console.log = “print something”
- document.getElementById = “find an element with id”
- Functions take in parameters, what to do (inside the parenthesis)
- the parameter tells console.log what to print
- the parameter in document.getElementById tells the id of the element
- Functions can be used with DOM as well, thes will be shown below
Creeating functions
- document functions functions were used to create a lot of functionality, but how can a developer create their own?
- function are useful to avoid writing the same code over and over again
- function can contain parameters for input (they effectively become variables)
- function can contain a return, the are the “output” of the function
%%html
<!-- the ID must be specified on the element -->
<div id="divContainerIDfunction">
    <h1 id="h1ElementIDfunction">My Title</h1>
</div>

<!-- javascript goew here -->
<script>
    // define a function => takes parameter text, returns a new p tab
    function createPTag(text) {
        // creates a new element
        var pElement = document.createElement("p")

        // using the parameter like a variable
        pElement.innerHTML = text

        // outputs p tag after it has been created
        console.log("Example #6, add p tag using a function")
        console.log(pElement)

        return pElement;
    }

    // using a function to create p tag
    var pTag = createPTag("Starting a paragraph with cooler text than before.")

    // place the p element in the webpage
    var div = document.getElementById("divContainerIDfunction")
    div.appendChild(pTag)
</script>
OnClick Event
- Run a function when an event occurs
- In this case, the p tag is created when the button is clicked
%%html
<!-- the ID must be specified on the elements -->
<button id="buttonID">Click here!</button>

<div id="divContainerIDbutton">
    <h1 id="h1ElementIDbutton">My Title</h1>
</div>

<!-- our javascript goe here -->
<script>
    // define a function => takes parameter text, returns a new p tab
    function createPTag(text) {
        // creates a new element
        var pElement = document.createElement("p")

        // using the parameter like a variable
        pElement.innerHTML = text

        // outputs p tag after it has been created
        console.log("Example #7.1, add p tag using a function")
        console.log(pElement)

        return pElement;
    }

    // create a function that sets specific text and adds to div
    function addPTagOnButton() {
        // using our new function
        var pTag = createPTag("Starting a paragraph with text created on button press.")

        // place the p element in the webpage
        var div = document.getElementById("divContainerIDbutton")

        // add p tag to the div
        div.appendChild(pTag)

        // outputs p tag after it has been created
        console.log("Example #7.2, update container adding a 'p' tag")
        console.log(div)
    }

    // add the P tag when our button is clicked
    var myButton = document.getElementById("buttonID")
    myButton.onclick = addPTagOnButton

</script>
Hacks
- Copy your HTML code from the HTML hacks. Write a Javascript snippet to switch the links of the two a tags when a button is pressed. Once they are switched, change the inner HTML of the top p tag to the word “switched!”
%%html
<!-- html code goes here (make sure to run) -->
<div>
<p>Welcome to Sonics Wonderful Adventure!!</p>
<a href="/Gabbb//2023/09/22/Sonic_Animation.html">
<button>Sonic Animation</button>
</a>
<button onclick="linkSwitcher()">Switch the links!</button>
</div>
<div>
<p id="3">Levels</p>
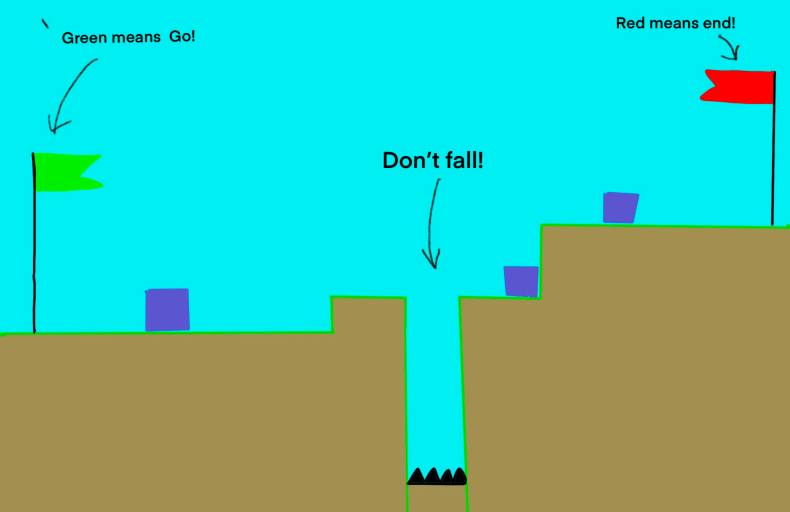
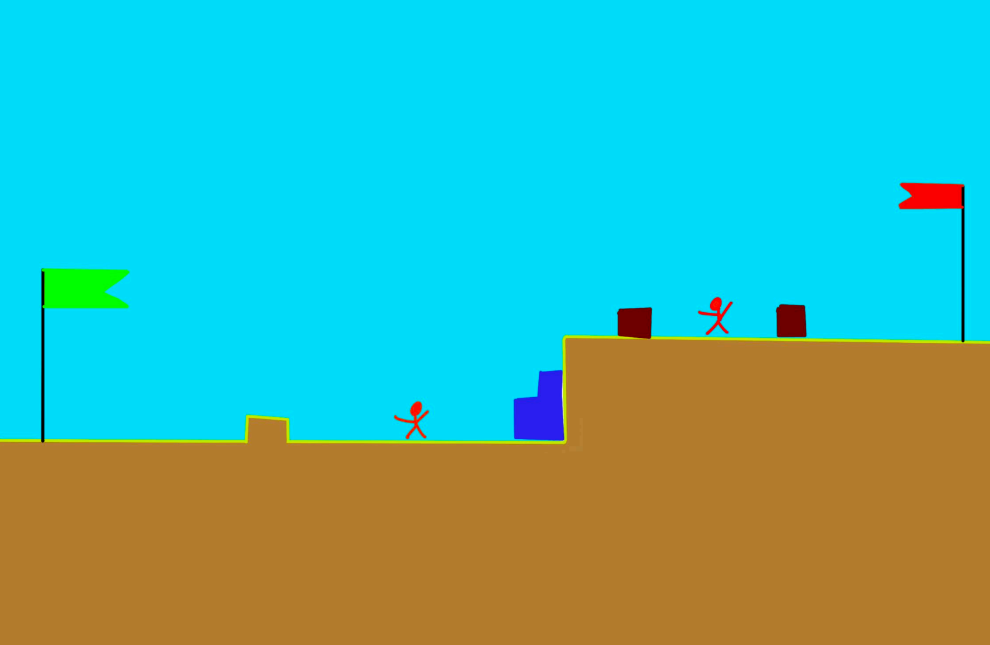
<a id="1" href="/Gabbb/images/tutorial.png">Tutorial</a>
<a id="2" href="/Gabbb/images/level1.png">Level_1</a>
</div>
<script>
var i = 0;
// linkSwitcher will run when button is clicked
function linkSwitcher(){
var link1 = document.getElementById("1");
var link2 = document.getElementById("2");
if(i === 0){
i += 1;
link2.setAttribute('href', "/Gabbb/images/tutorial.png");
link1.setAttribute('href', "/Gabbb/images/level1.png");
var levelText = document.getElementById("3");
levelText.innerHTML = "Switched!";
}
else if(i === 1){
i -= 1;
link1.setAttribute('href', "/Gabbb/images/tutorial.png");
link2.setAttribute('href', "/Gabbb/images/level1.png");
console.log("called")
var levelText = document.getElementById("3");
levelText.innerHTML = "Levels";
}
}
</script>